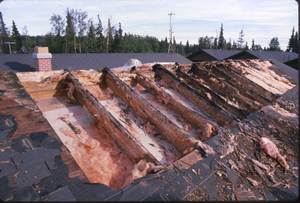
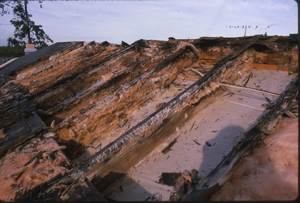
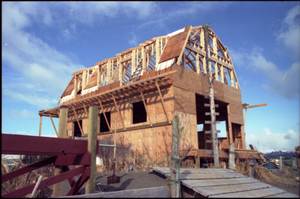
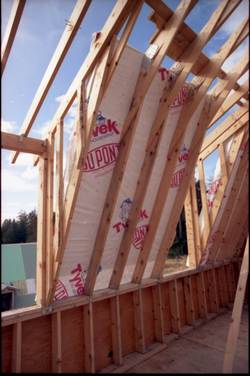
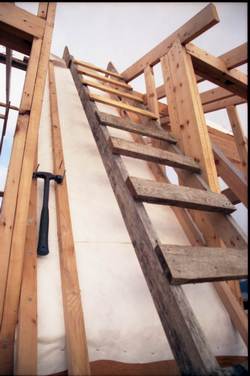
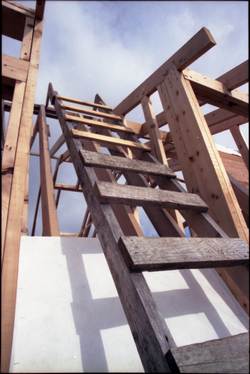
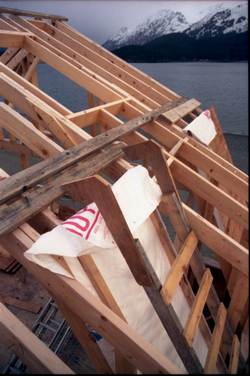
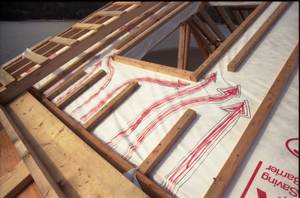
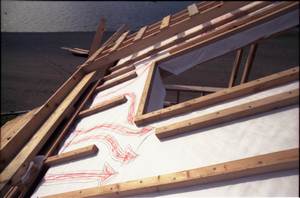
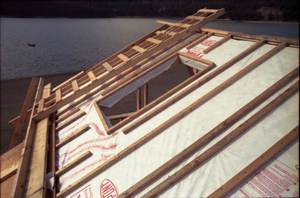
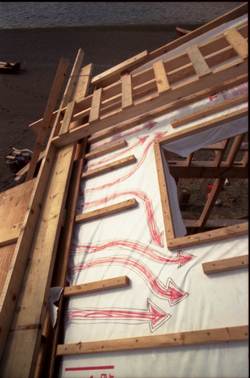
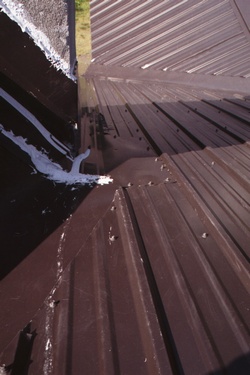
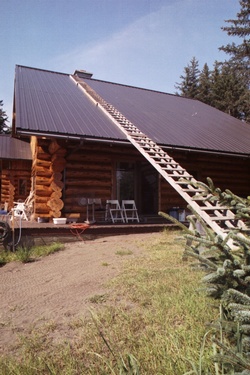
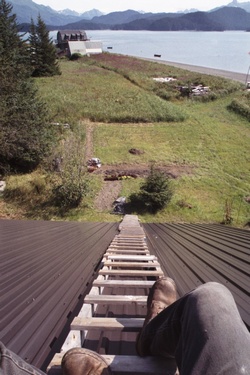
Venting of a roof is mandatory to save it from becoming a fungus farm.
As the air cools at night, it shrinks rapidly,
taking moisture with it into the cavities it enters.
During the day, the expanding air does not take the moisture with it as it billows out.
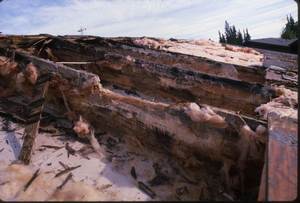
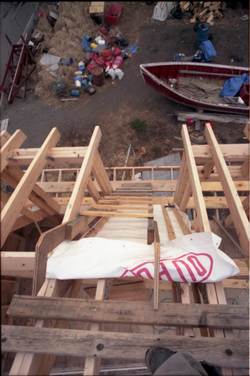
The growing humidity remains behind to support fungus growth, as seen in these rafters,
two and a half stories above the floor below. The coming winter's snow load would have
caved this roof in. I pulled all this apart with my bare fingers, the sheetrock and the composition shingles being the strongest materials left of this 9 year old roof near
DeLong Lake in Anchorage Alaska.
All thumbnail pictures link to larger JPEG.
In the picture below
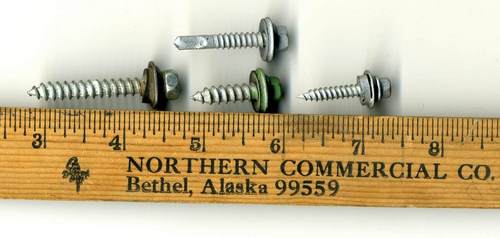
The three screws in a row are for fastening sheet-metal to wood.
The first is for fastening heavy guage metal to inch and a half thick 2X wood.
The middle one is for light guage steel to plywood or pine, spruce, etc.
The last one is for fastening thin steel to Fir or Hemlock, other harder varieties,
all too easily over torqued and stripped in the softer woods above which do not
grab the shank with enough clamping force with their softer grains. They also
work loose with time, temperature expansion - contraction, high-wind forces
when used in softer base materials, prompting the above mentioned exchange operation.
The top screw is for fastening to metal framing, note the large pilot hole cutter tip.
They are absolutely worthless for fastening to wood, and were supplied to my expediter
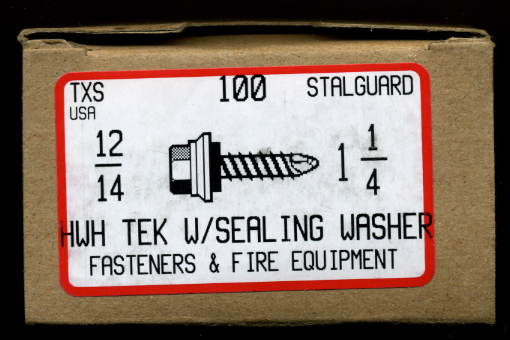
who had asked for the middle screw, by Fasteners & Fire Equipment of Anchorage Alaska.
Damn hard to exchange when stuck in Seldovia for months, and expensive to ship back.
The box showed a screw on the lable closer matching the intended purchase, not the contents.
Some art department!
